


Depuy Hip Replacement Recall Lawsuit Information Sites
The DePuy Orthopaedics Inc. recalled its ASR hip replacement system due to potential loosening of device resulting in bone fractures and hip displacements. Metal toxicity development and pseudotumor formation may also take place due to presence of metal debris in the bloodstream. Clearly, it is important that you have the best lawyers for your DePuy hip replacement lawsuit.
In August 2010, the DePuy Orthoapedics Inc., a subsidiary company of Johnson & Johnson, announced the global recall of its metal-on-metal hip replacement devices. These devices were pulled out from the market due its potential loosing resulting on bone fractures around the implant. Medical specialists say that eventually,patients may encounter metallosis, implant failure, bone loss, tissue damage and other hip surgery problems. Johnson & Johnson took the blame on these risks and complications.
When DePuy ASR metal hip replacements deteriorate, they shed metal debris that damages tissues around the hip and deposit toxic metals into the bloodstream. This may result in formation of pseudotumors. Absolute failure of ASR hip implants happen in extreme cases.
If you have been a recipient of a DePuy ASR device, you may be entitled for a financial compensation from the company. The time and opportunity to pursue a lawsuit against DePuy is not unlimited. Thus, seek legal advice today.
For more information regarding Depuy Hip Replacement Lawsuit check out the links below.
Hip Replacement Lawsuit
Hip Replacement Lawsuit
Depuy Hip Replacement Recall
Depuy Hip Replacement Recall
Depuy Hip Replacement Recall
Depuy Hip Replacement Recall
Depuy Hip Replacement Recall
Depuy Hip Replacement Recall
Depuy Hip Replacement Recall
Depuy Hip Replacement Recall
Depuy Hip Replacement Recall
Depuy Hip Replacement Recall
Depuy Hip Replacement Recall
Depuy Hip Replacement Recall
Depuy Hip Replacement Recall
Depuy Hip Replacement Recall
Depuy Hip Replacement Recall
Depuy Hip Replacement Recall
Depuy Hip Replacement Recall
Depuy Lawsuit
Depuy Lawsuit
Depuy Lawsuit
Depuy Lawsuit
Depuy Lawsuit
Depuy Lawsuit
Depuy Lawsuit
Depuy Lawsuit
Depuy Lawsuit
Depuy Lawsuit
Depuy Lawsuit
Depuy Lawsuit
Depuy Lawsuit
Depuy Lawsuit
Depuy Lawsuit
Depuy Lawsuit
Depuy Lawsuit
Depuy Lawsuit
Hip Replacement Lawsuit
Hip Replacement Lawsuit
Hip Replacement Recall
Hip Replacement Recall
Hip Replacement Recall
Hip Replacement Recall
Hip Replacement Recall
Hip Replacement Lawsuit
Hip Replacement Lawsuit
Hip Replacement Lawsuit
Hip Replacement Lawsuit
Hip Replacement Lawsuit
Hip Replacement Lawsuit
Hip Replacement Lawsuit
Hip Replacement Lawsuit
Hip Replacement Lawsuit
Hip Replacement Lawsuit
Hip Replacement Lawsuit
Hip Replacement Lawsuit
Hip Replacement Lawsuit
Hip Replacement Lawsuit
Hip Replacement Lawsuit
Hip Replacement Lawsuit
Hip Replacement Lawsuit
Hip Replacement Recall
Hip Replacement Recall
Hip Replacement Recall
Hip Replacement Recall
Hip Replacement Recall
Hip Replacement Recall
Hip Replacement Recall
Hip Replacement Recall
Hip Replacement Recall
Hip Replacement Recall
Hip Replacement Recall
Hip Replacement Recall
Hip Replacement Recall
Hip Replacement Recall
Hip Replacement Recall
Hip Replacement Recall
Hip Replacement Recall
Hip Replacement Recall
Depuy Hip Replacement Recall
Depuy Hip Replacement Recall
Depuy Hip Replacement Recall
Depuy Hip Replacement Recall
Hip Replacement Recall
Depuy Lawsuit
Hip Replacement Lawsuit
Depuy Hip Replacement Recall
Depuy Lawsuit
Hip Replacement Lawsuit
Hip Replacement Recall
Hip Replacement Recall
Depuy Lawsuit
Hip Replacement Recall
Hip Replacement Lawsuit
Info Harbor
120+ Top Google Ranked Blog Directories To Submit Your Blog
Exposure is the key to increasing readership, followers and ultimately revenue for your blog. One of the fastest ways, albeit not that quick of a process, to generate an increase in traffic to your blog is submissions to directory listings. A directory can get new people to your blog, but it is up to you to ensure that it is filled with quality content that will keep them coming back day after day.
What Is A Directory?
A blog directory, web directory or link directory are lists of websites that specialize in linking to other web sites on the World Wide Web. The directories are said to provide good "link juice" to a site as opposed to "key word stuffing" which is frowned upon by the search engine spiders. You don't want to make the Google spiders angry.
What Can A Directory Do For Your Website?
Directories are great for both the blog owner and readers who are looking for new sites to follow or research.These directory lists provide "backlinks" to your blog. This type of linking is vital to the growth of your site because Google places more value on sites with the greatest number of backlinks.
Backlinks are incoming links to a webnode (also called a website, blog, directory or domain) from another web node. These connections between the two sites ultimately enhances the SEO (search engine optimization) of the site. Backlinks, also known as inbound links, incoming links, inward links and inlinks, provide one view of the popularity or importance of the site or blog.
One of the fastest ways to lose your backlinks and Google rating is to change your domain. That is why I stress buying your domain name now before you wake up one morning with a PR5 and decide you are into blogging for the long haul and need to buy your own domain. The moment you buy your domain, your rating becomes a big fat goose egg...ZERO and you lose all the backlinks. Yes, I know how this feels because that is my scenario, so go buy your domain today.
in which opportunity is buried."
What Is Needed To Submit To A Directory?
It doesn't take too long to submit your blog to a directory. Usually, the most time consuming part is determining which category to list your blog.
The most common information needed for submission to a directory:
- URL of the blog
- Blog RSS feed address
- Name of the blog
- Email address
- An account created on the directory
- Placing a reciprocal link or badge on your blog
Below is a list of blog directories in order of Google PR ranking. I will update this directory resource, so let me know if you find a link that no longer works or want me to add another one. Sometimes directories disappear just like blogs.
PR8
Yahoo! Directory
DMOZ
PR7
Bloggernity
Best of the Web Blog Search
Best of the Web
Business.com
Galaxy
PR6
Blog Explosion
Blogging Fusion
Bloggapedia
BusyBits Web Dir.
Globe of Blogs
Blog Catalog
Family Friendly Sites
Joeant
Blog Search Engine
Blogged.com
Uncover The Net
EatonWeb Blog Directory
WhatUSeek
GreenStalk
HotVsNot
PR5
Blog Universe
Brit blog
OnToplist.com
oneMission
CannyLink
Chiff.com
V7N Directory
Clickey
SearchSight
Azoos
SoMuch.com
Cluboo
IllumiRate
123world
Bhanvad
iBrain
Web World
TopSites
InfoListings Directory
InCrawler
GoonGee.com
GoGuides.org
ThisIsOurYear
DirectoryWorld
SiteSnoop.com
Qango
MavicaNet
SunSteam Search
Gimpsy
Internet-Web
AbiLogic
Master Site
Search Turtle
World Site Index
PR4
Blogio
Fuel My Blog
URL Broadcast Daily
Bloglisting
Blogflux
Spillbean
Bigger Blogs
Websavvy
RubberStamped
Ozami
Zerg Directory
Thales Directory
Anthony Parsons
Really First
NetInsert
Sootle Web Directory
01Web Directory
GMDir
Abboo
BigAll
1st-Spot.Net
Net Zoning
Free Website Directory
Skaffe.com
Alive Directory
WoW Directory
Xtlinks
Massivelinks
AbiFind
SeekZap
Yeandi
Human Ranked Dir.
HomepageSeek
SevenSeek Directory
LinkoPedia.com
Octopedia
Global Weblinks
Directory Gold
Add Your Site Free
SEO Works
Kwik Goblin
Webxperience
Perfext.com
Hoppa
Arakne Links
F3 Free Directory
Web Beacon
Big Web Links
SmartLinks.org
Add URL-Free
Link Now Directory
AzListed
SightQuest.com
SEOMA
Ajdee Directory
EarthLook
Apahcinc
Free Advertising Directory
Web 10
Tygo
One Way Link
One Big Directory
Directory-World
Umdum
Ask Directory
PR3
Bloggeries
Super Blog Directory
That should keep you busy for a while.
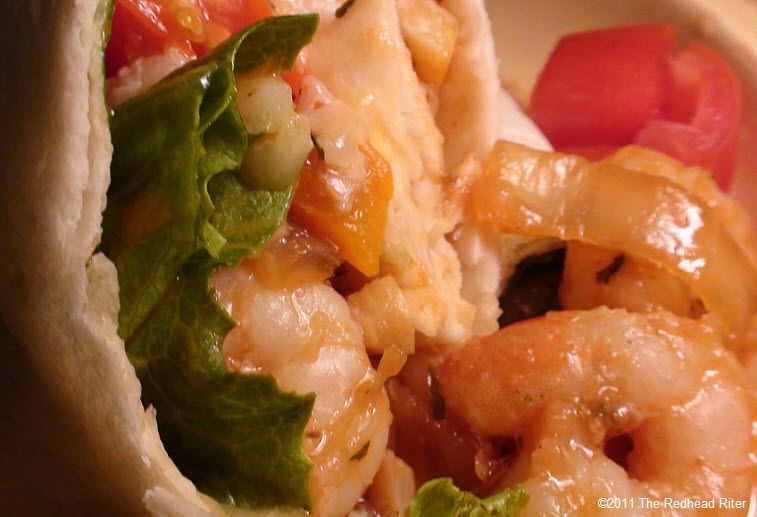
Shrimp Fajita Wrap Recipe - Light, Fresh and Healthy
and then cook them.
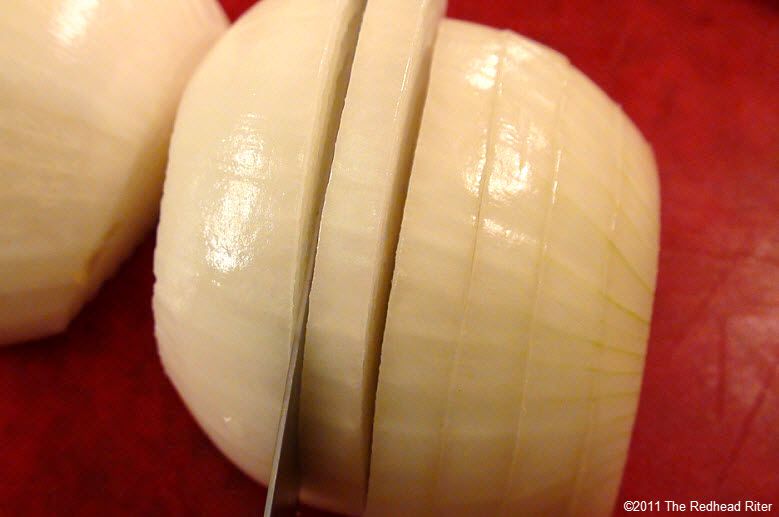
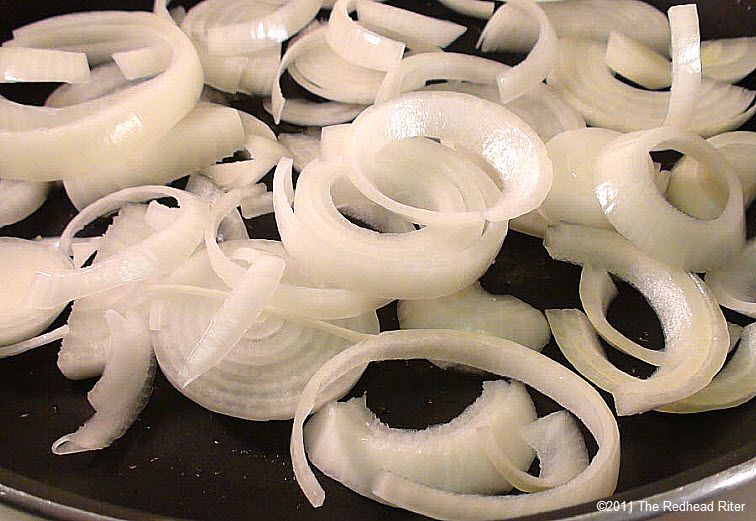
First up....Onions.
Where would we be without onions?
Cut both ends off the onion,
peel, cut in half and then slice it.
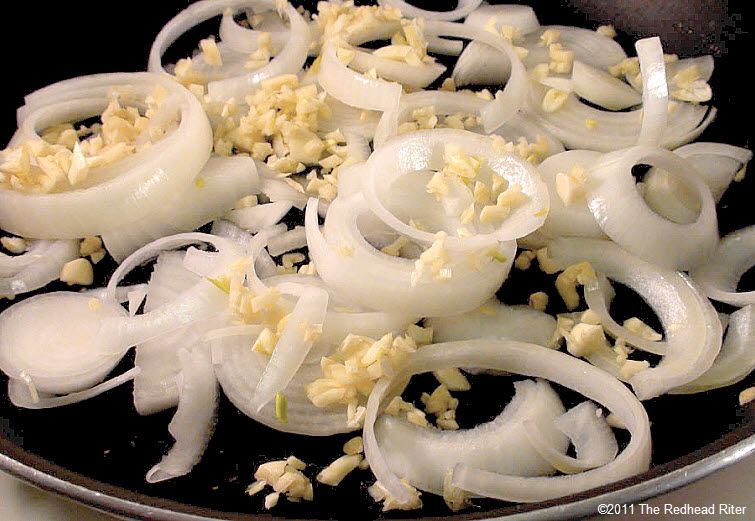
Separate the garlic clove from the head of garlic.
Put it under the blade of the knife and
hit the blade with the base of the palm of your hand.
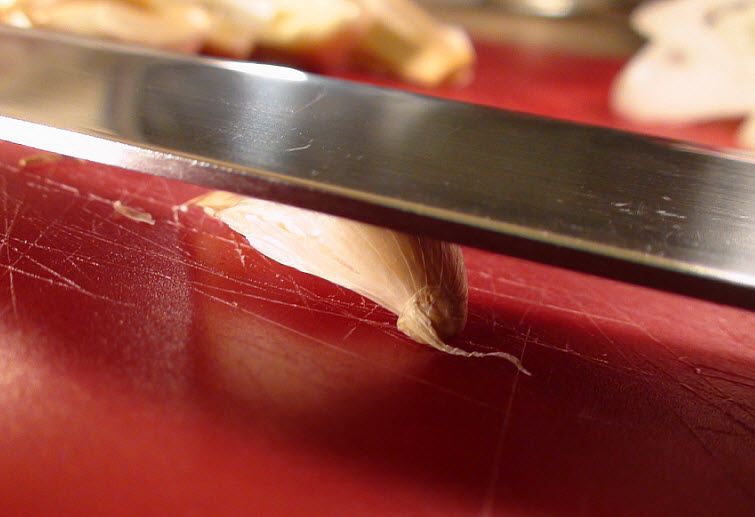
of the garlic from the actual clove.

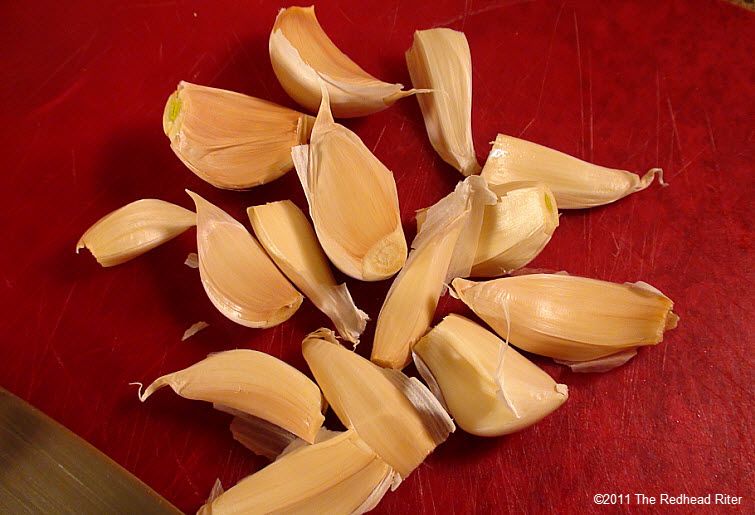
15 garlic cloves.
Yes, that is a whole bunch,
but they are SO VERY DELICIOUS.
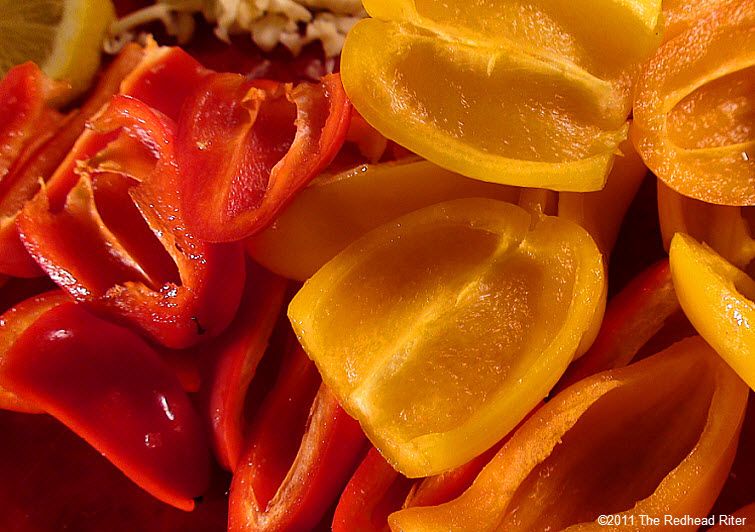
Don't you think they look tiny?
If you said, "Yes," you are right!
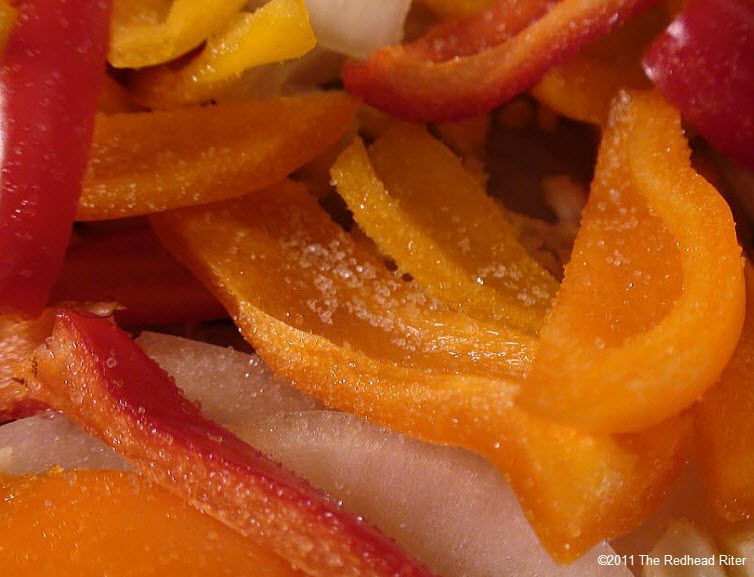
These bell peppers are very small.
Why did I buy very small bell peppers?
Alyssa picked them out and when I got home
and started preparing them for the
shrimp fajita wraps,
I discovered that.... .

I don't know about you,
but it was so nice not having to clean out all those tiny little seeds
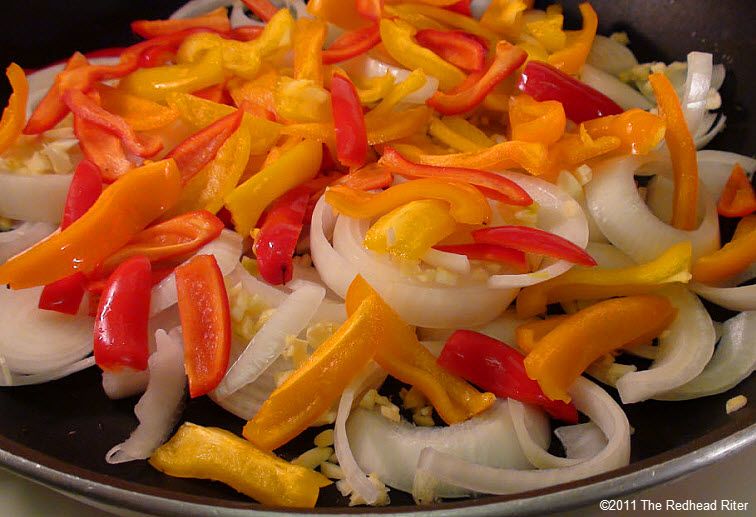
After cutting all of them open,
they were then cut into strips about the same width as the onions.
then add a layer of the onion slices.
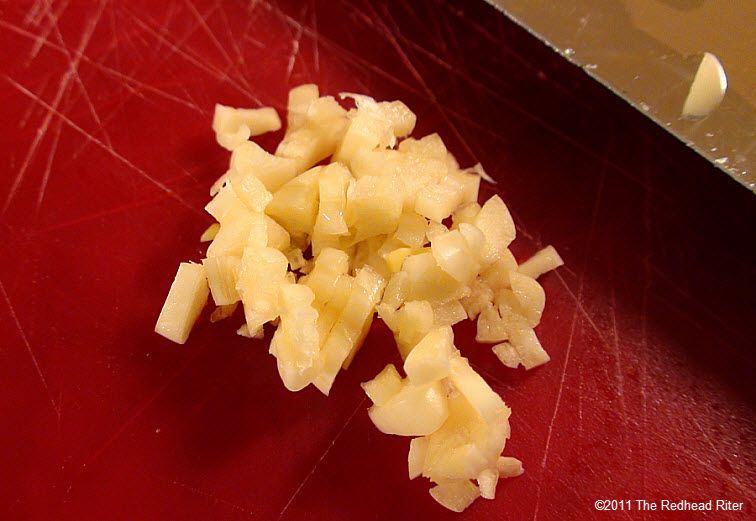
add the chopped garlic.
I love salt.
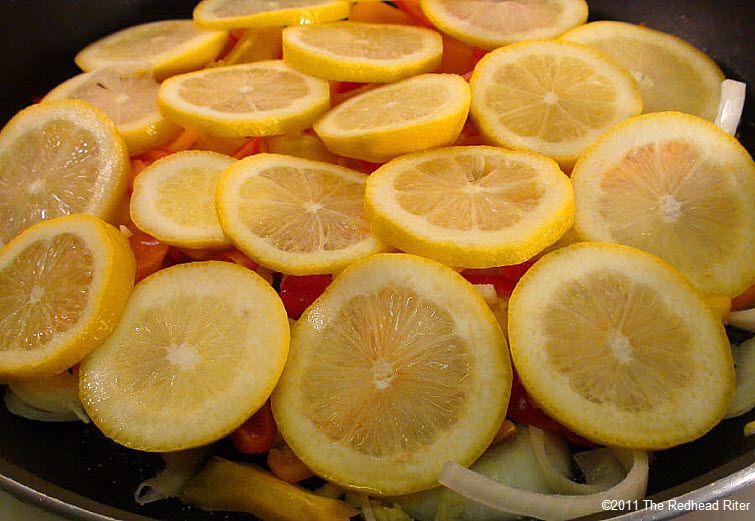
If you love, love the taste of lemons,
slice 2 lemons.
If you do not want a strong lemon flavor,
only use 1/2 a lemon sliced.
Obviously, I love lemons and
they are really good for the body,
Now turn on the heat and let everything
start to cook down and turn light brown. .
After rinsing the shrimp under cold water,
pull off all the tails.
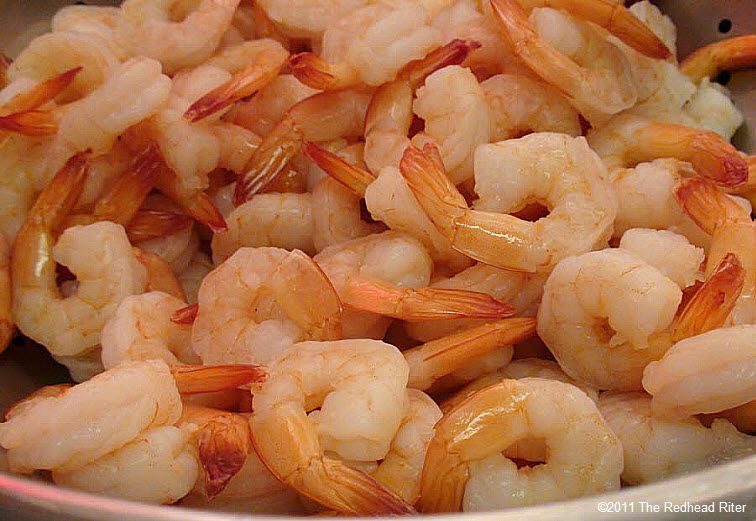
add the shrimp to the pan.
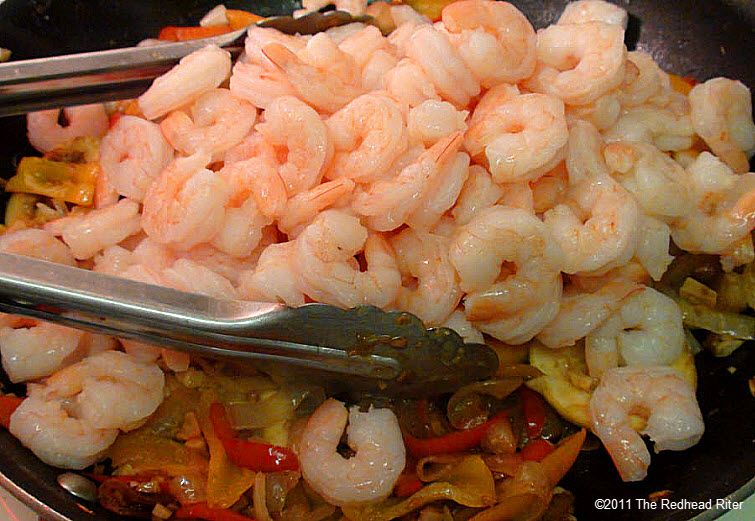
Sprinkle all of the following spices over the shrimp:
Parsley
Basil
Thyme
Oregano
Paprika
Cayenne Pepper
Coriander
Cumin
Dry Mustard
Rosemary
Old Bay Seasoning
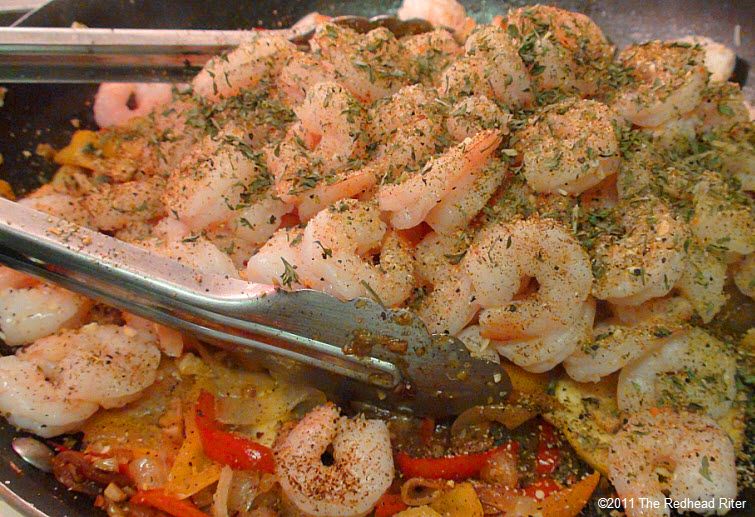
The goal is to JUST warm the shrimp because
they are already cooked
If you cook them too long, the meat will be tough
as an old leather shoe.
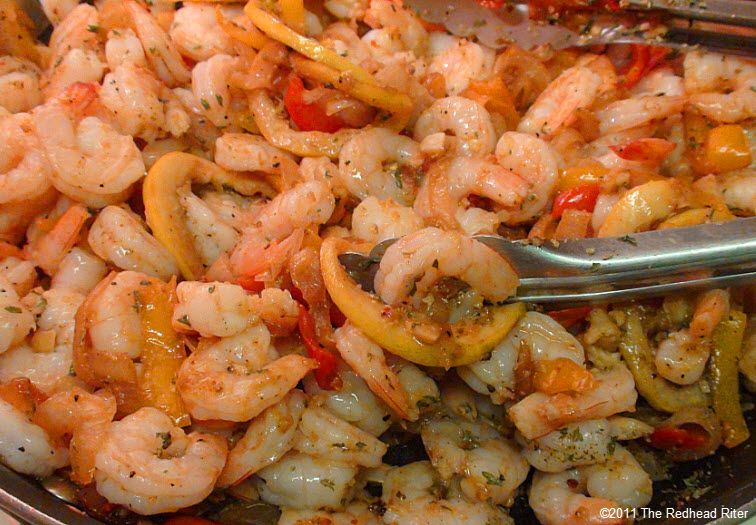
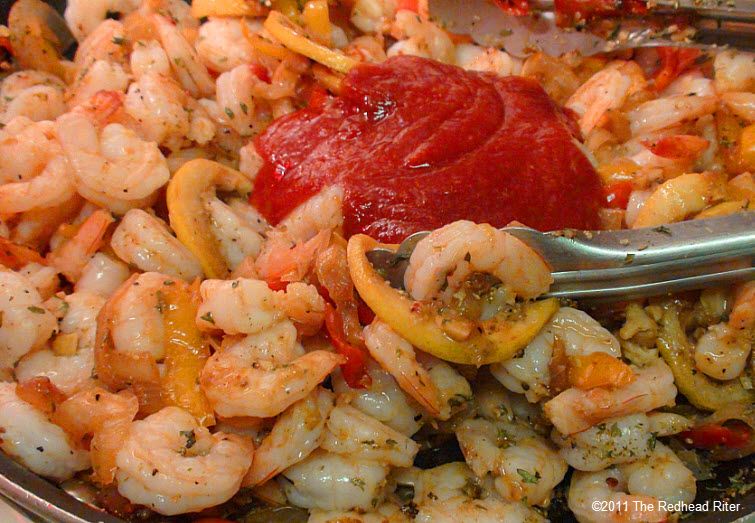
and mix it with the shrimp and vegetables.
The best way to test to see if the shrimp have been
heated all the way through is to eat one
or maybe two
or even three.
They ARE not that big and I'm hungry.
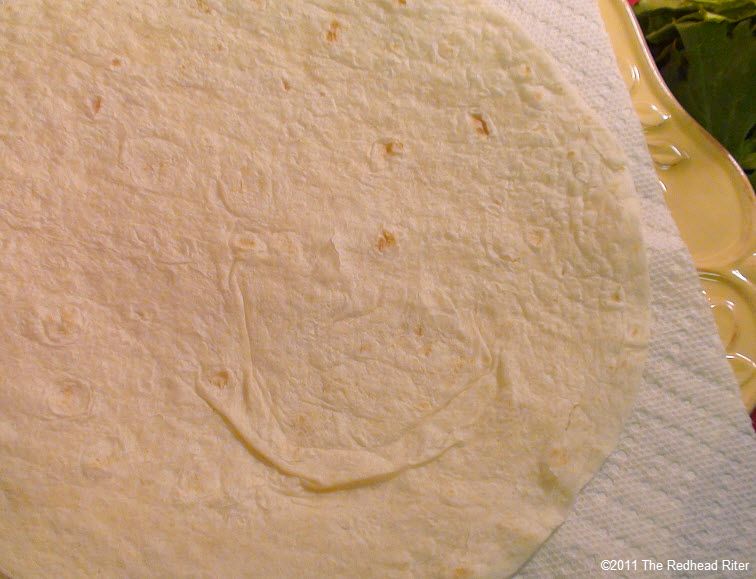
Wet a paper towel and squeeze it out completely.
Lay the wraps on a dry paper towel in the mircrowave
and cover with the damp paper towel.
Now let it warm for a minute or two.
The amount of time to heat is determined by
how hot you like the wraps and
the number of wraps you are warming at once.
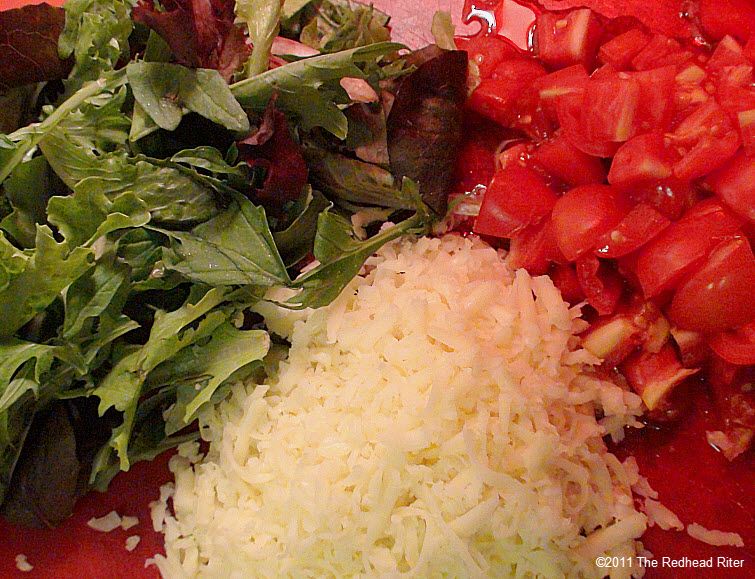
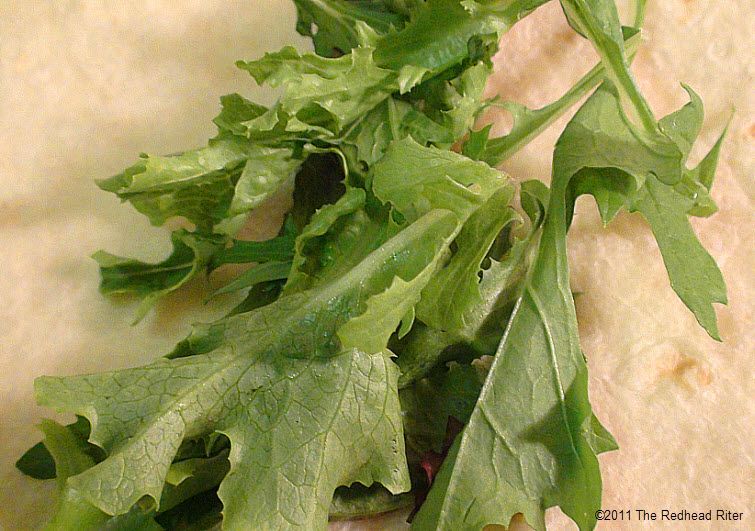
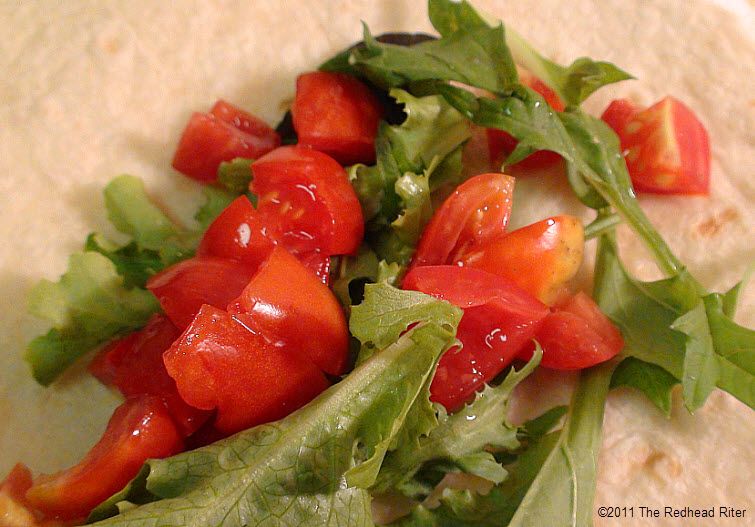
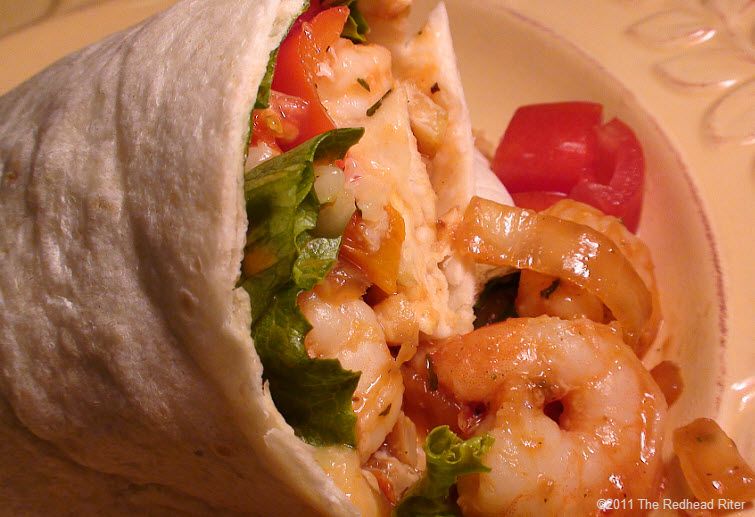
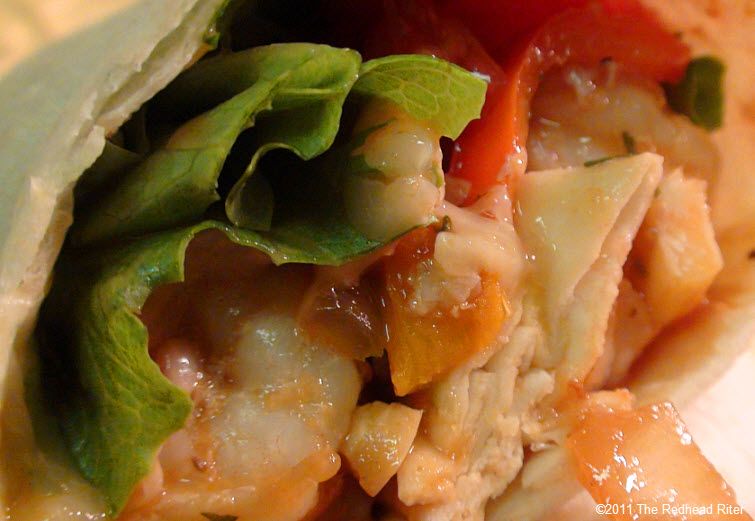
add the vegetables to the center.
First, add lettuce.
Fold the wrap tightly around the
shrimp and vegetables.
Do not overfill the wrap!
You have cooked enough to have another wrap,
so you don't have to put too much on your first wrap.
Besides, if you fold the wrap completely around everything,
it makes a neat and tidy little package.
.
Can you smell all those lovely spices?!
I have plenty for you too.
When did you say you were going to be here?
I have to make sure I'm not in my pajamas
and I also want to make a delicious dessert.
Which do you want...
No Bake Banana Split Cake With Cream Cheese or
Elementary Peanut Butter Ball Chews or
Lemon Sour Cream Bundt Cake with Lemon Drizzle?
because this is not a fattening meal
and I have a healthy appetite
with very little self-control.
.
Shrimp Fajita Wrap Recipe - Light, Fresh and Healthy
Ingredients:2 pounds of cocktail shrimp (easier) or raw shrimp (more cleaning and cooks longer)
3 tablespoons olive oil
1 onion, sliced
15 cloves of garlic, chopped/minced
2 full size or 15 small seedless bell peppers, sliced
1/2 to 2 lemons, slice (1/2 is a slight flavor and 2 is a strong flavor)
2 pounds of cocktail shrimp
1 cup cocktail sauce
4 tablespoons dried parsley
2 tablespoons dried basil
pinch of thyme
1/4 teaspoon oregano, rubbed between fingers
pinch of paprika
pinch of cayenne pepper
pinch of coriander
1/4 teasoon cumin
1/4 teaspoon of dry mustard
pinch ofosemary
1 teaspoon Old Bay Seasoning
1/2 head of lettuce
2 large tomatoes, diced
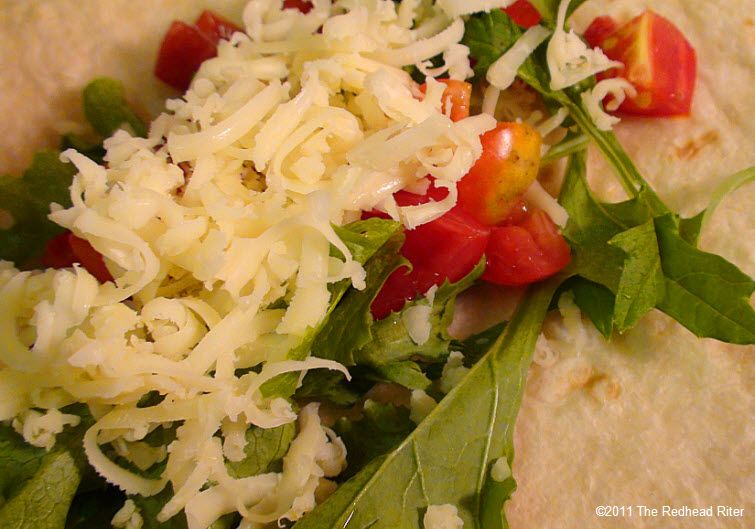
1 to 2 cups mozzarella cheese
10-12 flour tortilla fajita wrap
Directions:
In a small bowl, combine all seasonings except for salt. Set aside. In a pan, add olive oil, a layer of onions, garlic, bell pepper, salt and lemons. Cook until wilted and light brown in color. Add shrimp. Sprinkle all seasonings on shrimp and combine with browned vegetables and lemons. Add cocktail sauce. Heat for about 2-3 minutes. Warm flour tortilla wrap between a dry paper towel (under the wraps) and a damp paper towel (on top of the wraps) in microwave for 30 seconds for one wrap or 2 minutes for ten wraps. Put lettuce, tomato, mozzarella cheese and shrimp mixture in the middle of the warmed tortilla fajita wrap and roll tightly..
Yield: 10 - 12 fajita wraps
There are a lot of spices, but it is quick to add a pinch of this and a pinch of that, so don't let this recipe intimidate you. Just take it step-by-step and it will turn out perfectly!
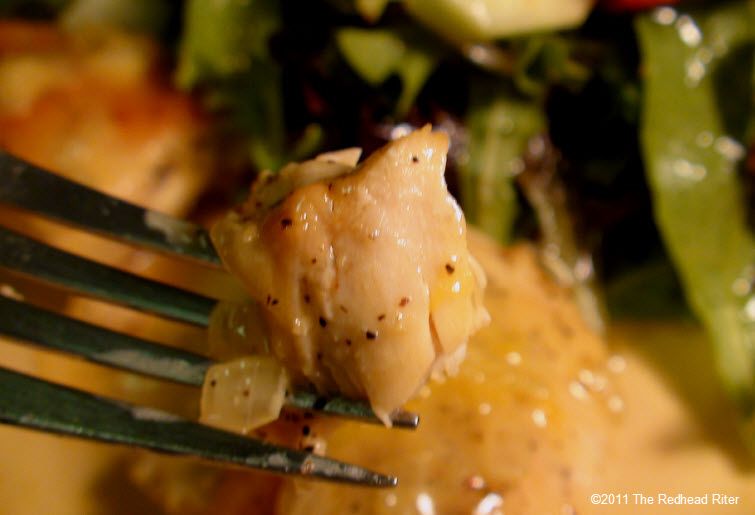
Moist Orange Chicken With Sauce
Chicken is one of my favorite meats and my Moist Orange Chicken With Sauce is not only flavorful, but it also tastes light and refreshing.
Chicken is actually very good for our health and nutrition. A chicken breast has very white meat and is the leanest part of the chicken. If the skin is peeled off, chicken breasts only have half the fat of an equal amount of beef.
What can a chicken add nutritionally to your diet?
Four ounces of chicken provides over two-thirds of an adult's recommended daily amount of protein which helps to maintain bone density and wards off osteoporosis.Chicken is high in niacin which helps to protect against age-related deterioration of mental skills and Alzheimer’s Disease. This important vitamin also helps to regulate blood sugars which in turn controls our insulin usage.
Free radicals have been discussed a whole lot because they are believed to cause some of the cancers and heart disease. Chicken has selenium which combines with protein to fight free radicals and it also helps to maintain a healthy thyroid.
Phosphorus is a mineral that aids in having great bones and teeth. Like selenium, phosphorus also helps to prevent damage from free radicals and chicken provides us with this mineral too. This great mineral also aids in kidney function, a healthy nervous system, heart health and also aids in the muscle's ability to contract properly.
Last, but not least, chicken is rich in vitamin B6 which I always think of as the energy vitamin. Foods high in B6 help to lower cardiovascular disease and aid in breaking down carbohydrates.
Obviously, chicken is not only delicious and easy to prepare, but is very good for keeping our bodies healthy and in top functioning condition.
So let's get started...
You might as well get the crying over with first!

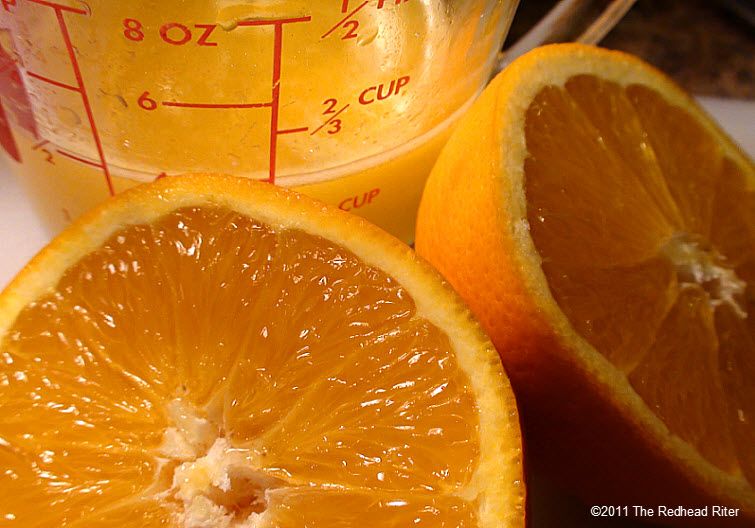
This is a step that I always enjoy.
The fragrance from the orange is so clean,
fresh and smells like happiness at home.
Okay, that might sound strange,
but that is how it smells to me.
I actually like the pulp in it because it adds some texture.
Talking about oranges now is making me salivate.
You can keep reading, but I'm going to eat an orange.
I can't wait until you're finished.
5 seconds ago, but it was 10 minutes ago for me
because I really did peel and eat an orange.
I now have the strength to finish the recipe.
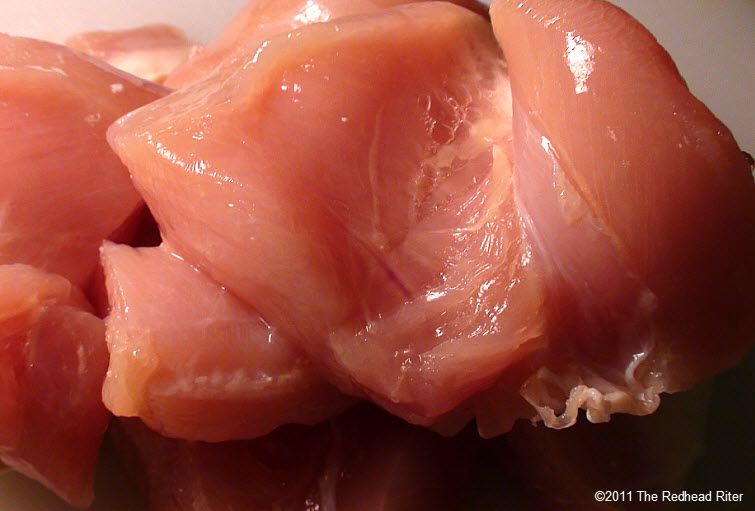
Clean all the fat off the chicken.
Have I told you that I've lost 35 lbs?
I'm almost back to the weight I was in high school.
I guess trimming the fat off the chicken was a good idea!
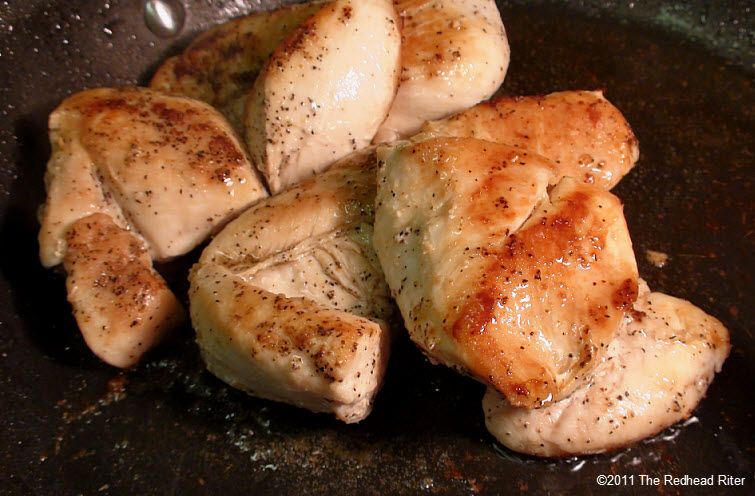
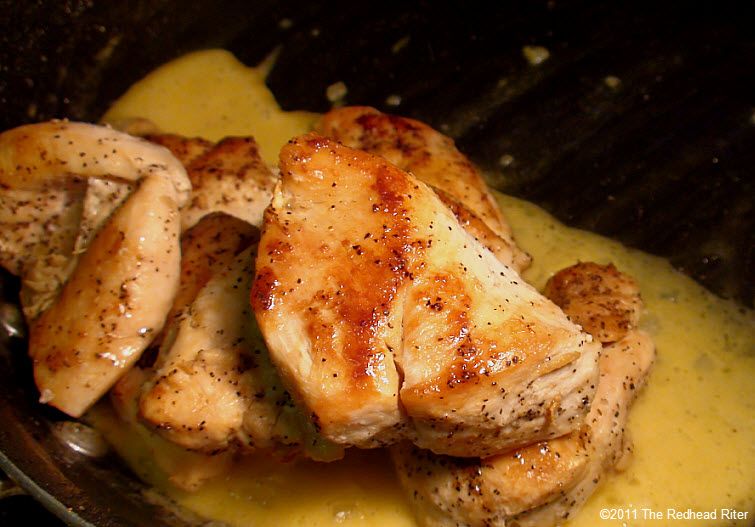
Cook the chicken until evenly browned on both sides
and cooked all the way through.
Do not overcook the chicken.
Pour the excess oil out of the pan.
Do not wipe the pan because you want to keep
the brown pieces of the cooked chicken that was left behind.
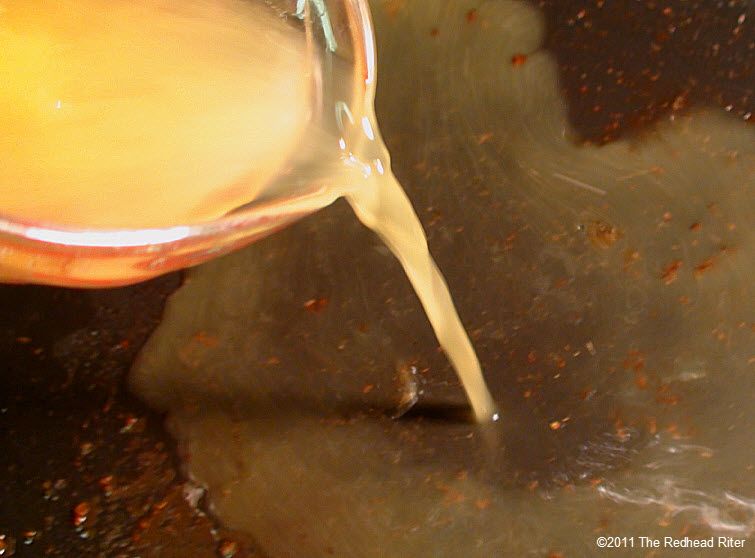
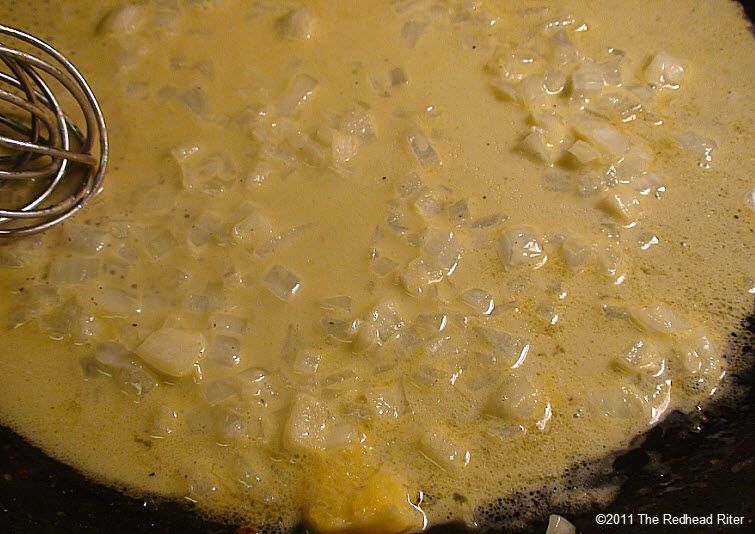
Now add the orange juice
and stir to incorporate the remnants in the pan.
There is not enough whipping cream in this recipe
to make you fat, but it sure does add
a delicious extra to the sauce.
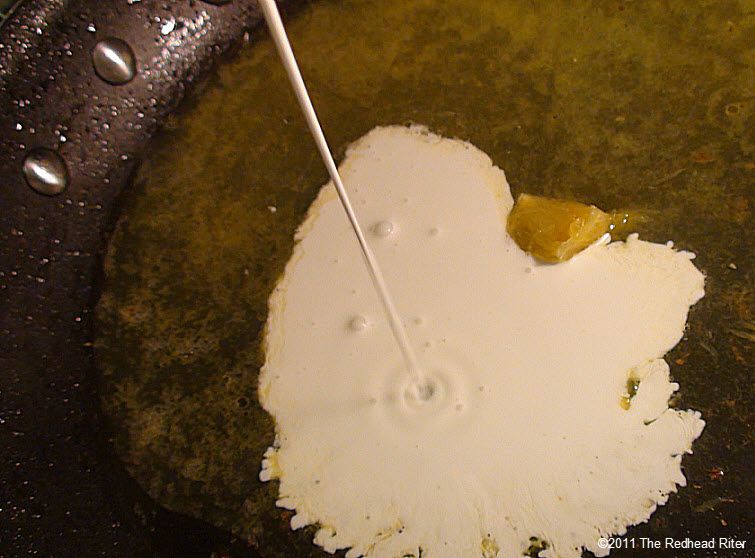
while the orange juice mixture cooks down.
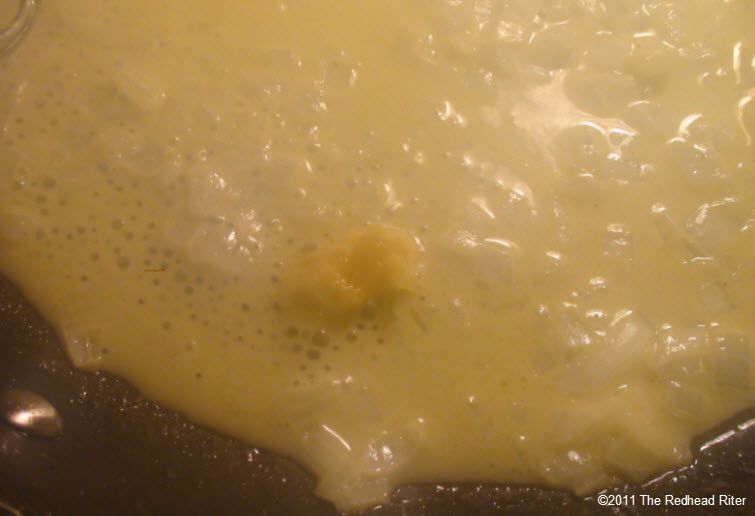
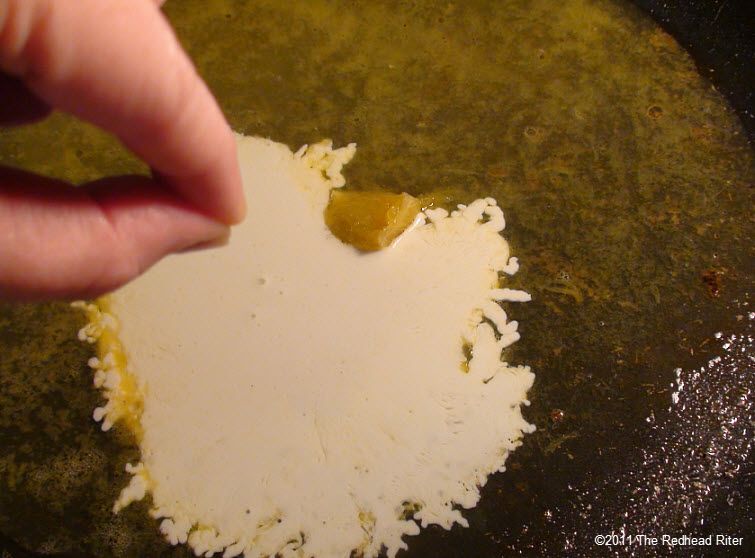
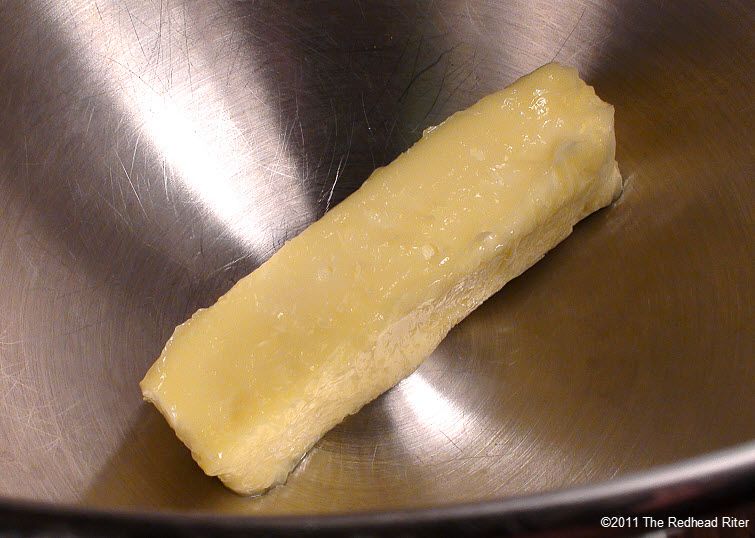
take it off the heat and add the butter.
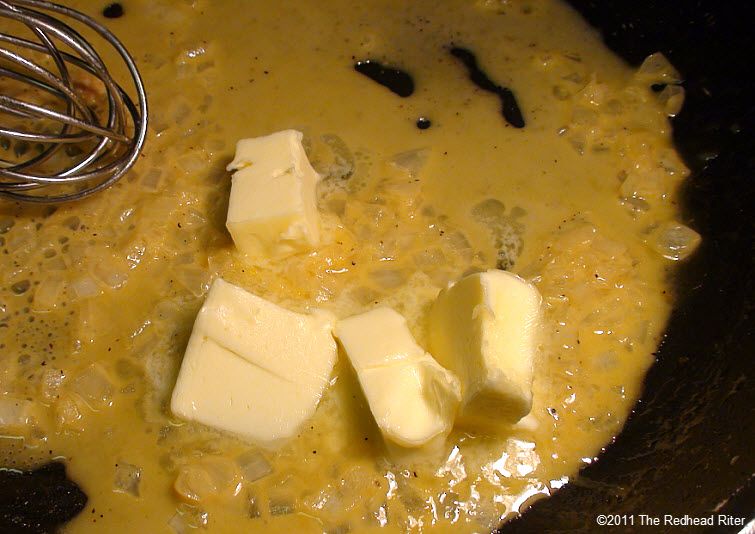
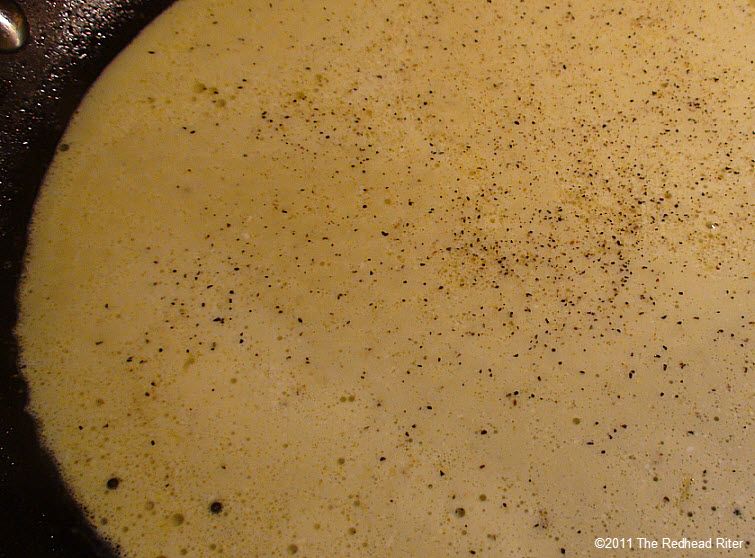
The sauce will be a little thick and rich.
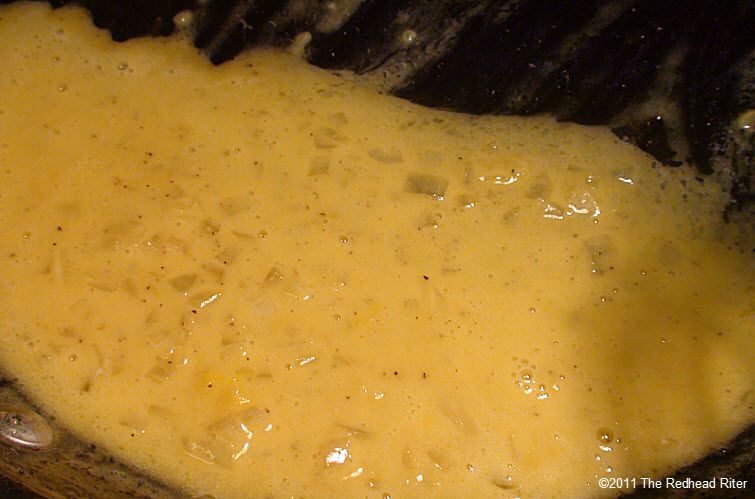
and make sure that each piece is well coated.
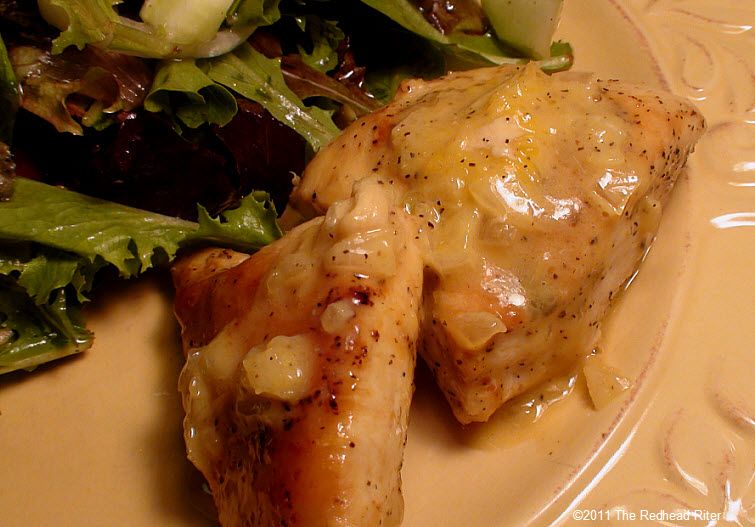
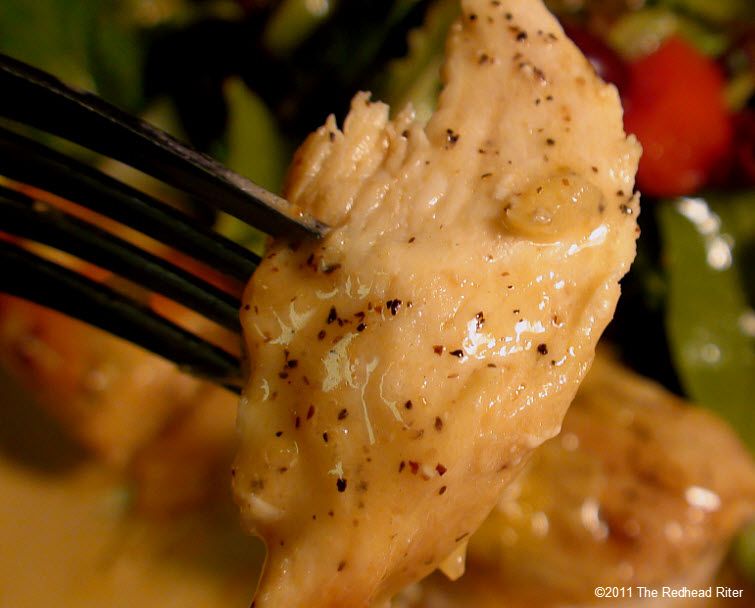
on the piece of chicken.
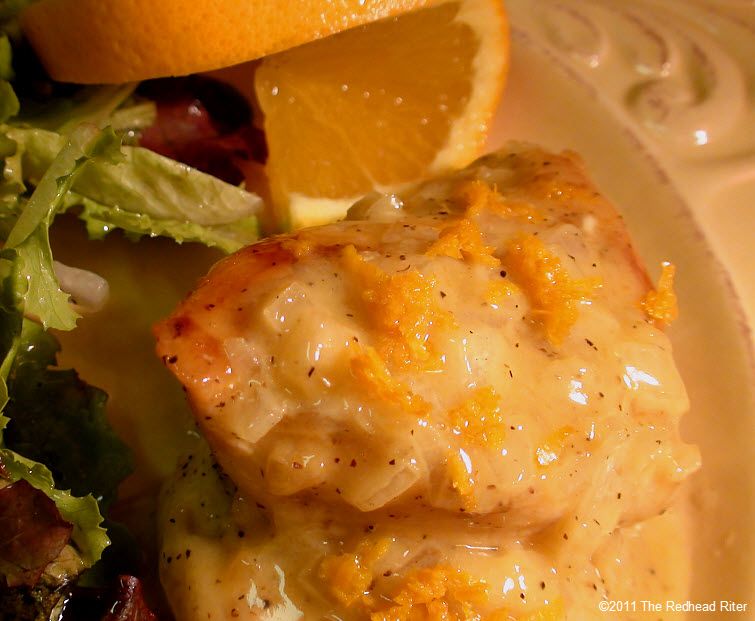
Not sour.
Not tangy.
Just orange.
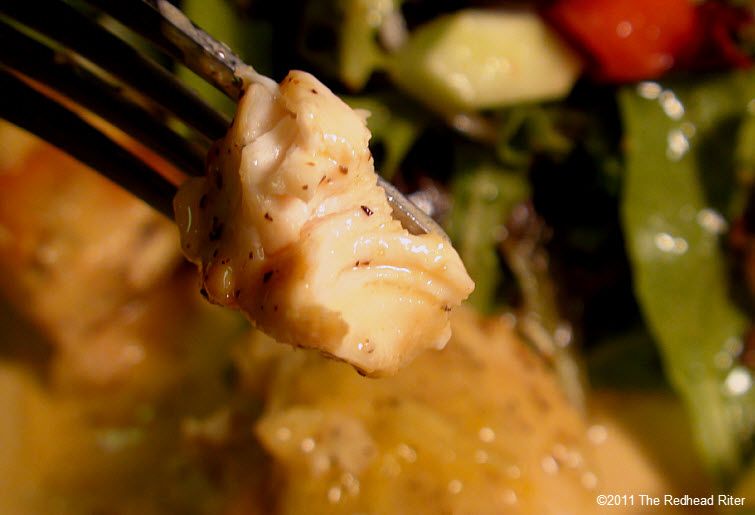
This chicken is so moist and juicy!
I will only share one bite,
but you better take it quickly because
it is so delicious that I can't bear to wait for my bite!
Moist Orange Chicken With Sauce
Ingredients:
Chicken:
4 chicken breasts, skinned, boneless
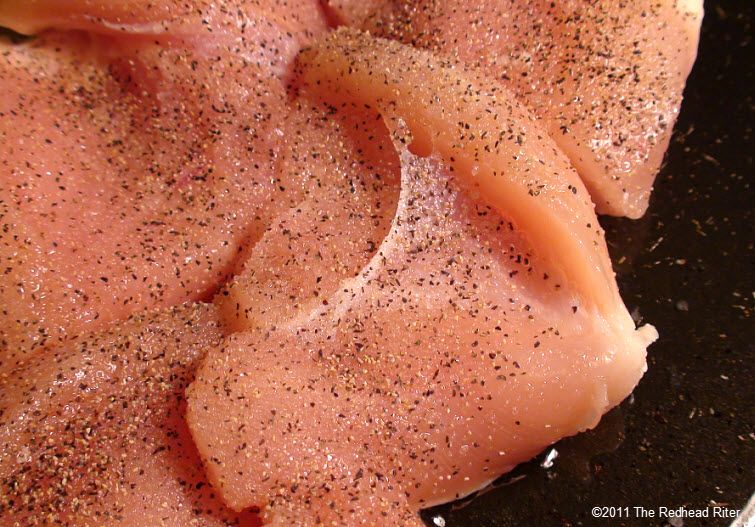
1/4 teaspoon salt
1/4 teaspoon pepper
3 tablespoons olive oil
Sauce:
1/2 cup orange juice
1/4 cup whipping cream
pinch salt
pinch pepper
1/2 medium onion, diced
4 tablespoons butter
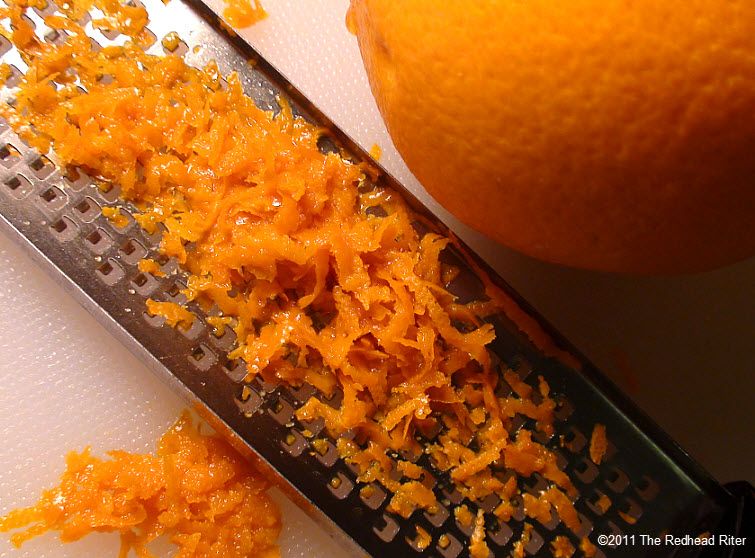
1 tablespoon orange zest
Directions:
Clean chicken breast and remove skin and/or fat. Pat dry. Sprinkle with salt and pepper. Set aside.
Prepare orange zest, orange juice and diced onions. Set each aside, but do not mix them together.
Add olive oil to frying pan and brown both sides of the chicken breasts and cook the meat all the way through, but do not overcook. Remove cooked and browned chicken from pan and set aside. Pour excess oil out of the pan and discard.
Add orange juice, whipping cream, salt, pepper and onion to the pan one at a time. Stir until thoroughly combined scraping any chicken bits from the pan. Cook on low until liquid is reduced in half. Remove from heat and add butter stirring until completely melted.
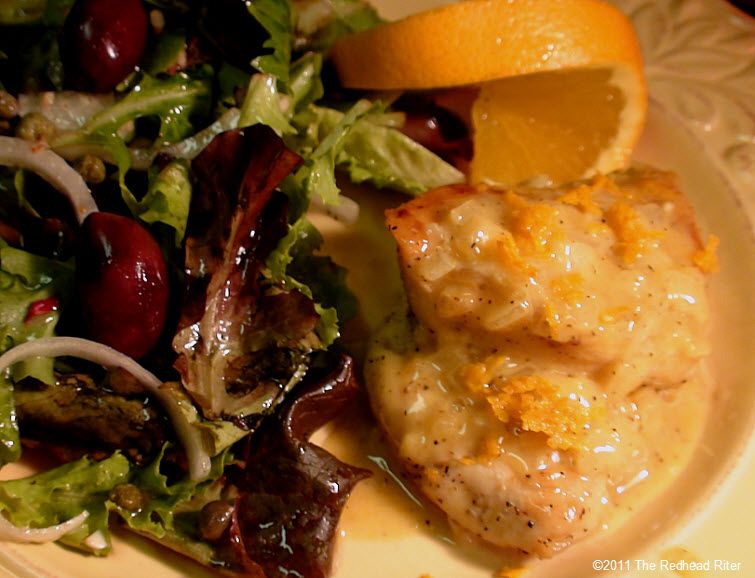
Add chicken back to the pan and completely coat with sauce. Serve hot with extra sauce and sprinkle with orange zest.
Yield: 4 servings
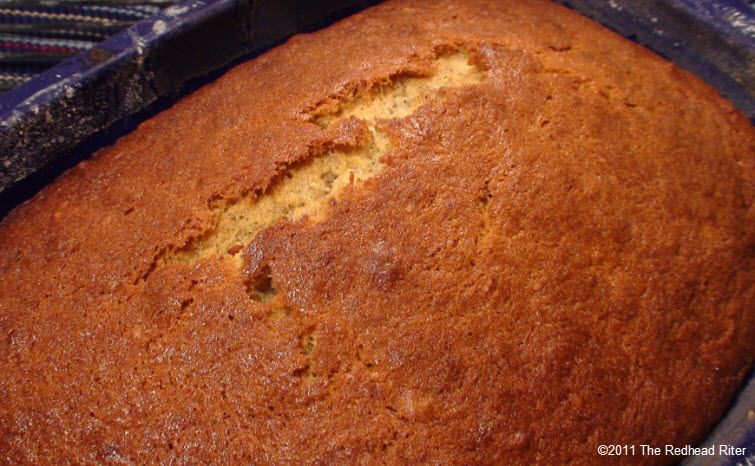
Moist Banana Bread Recipe - The Best Banana Bread Ever
Moist banana bread can melt in your mouth and this recipe proves it. This is my mother's recipe with a few tweaks here and there to make it mine. My daughter told me years ago that it is perfect, so I know that I've hit the nail on the head.
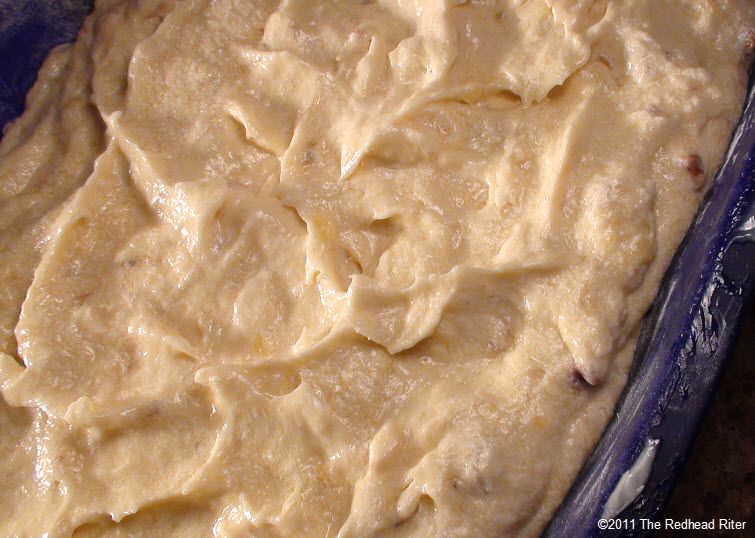
The batter is thick and it smells good.
I love thick batter.
Licking the batter from the sides of the bowl is so yummy and fun.
Really! Oh, and I love to lick the mixing paddle. I get every little bit of the batter, but I have to hide from my daughter because she starts preaching to me about the raw eggs.
"You're going to die all because of banana bread batter, Mo-om! Put it in the sink and stop it!"
She gets so worked up over a little batter.
That's why I bake the banana bread when she is on a date or at work.
I call it "strategic cooking."
Oh! Don't lick the raw batter because if you get sick eating raw eggs, my daughter will blame it all on me and I can't have the guilt of making thousands of people sick.
Let's begin this fantastic recipe!
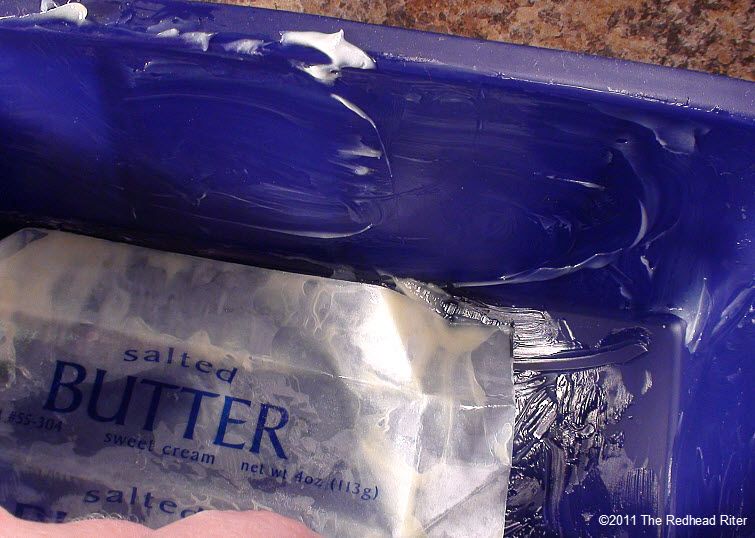
Start by adding the softened butter to the mixing bowl.
Don't waste the butter wrapper.
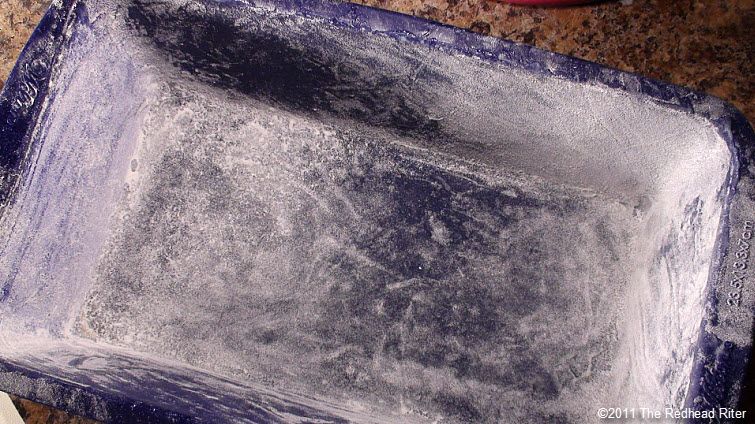
Using the wax paper wrap of the butter,
coat the bread pan well.
You probably won't even need more butter
than the amount that was left behind on the paper.
When you are finished covering all the surfaces,
set it aside while you make the batter.
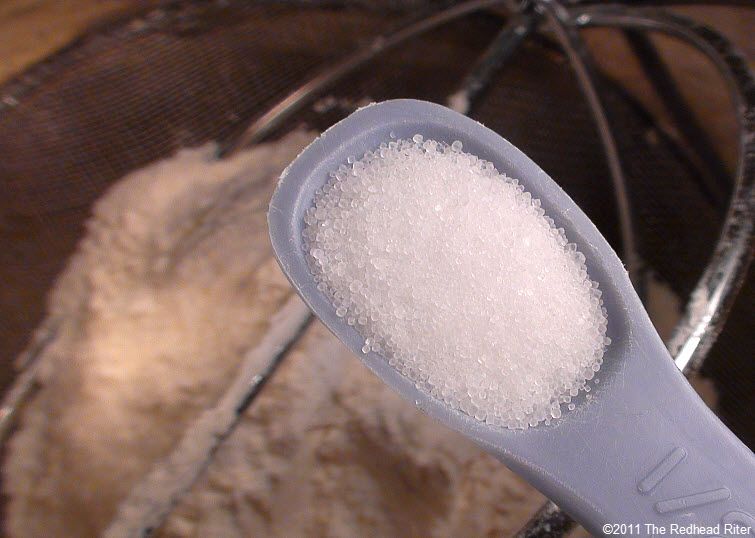
Add the sugar to the butter and...
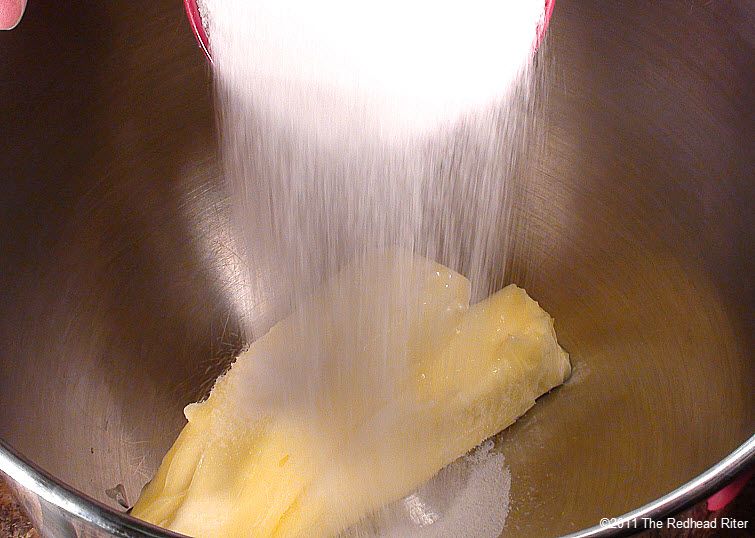
Whip it good!
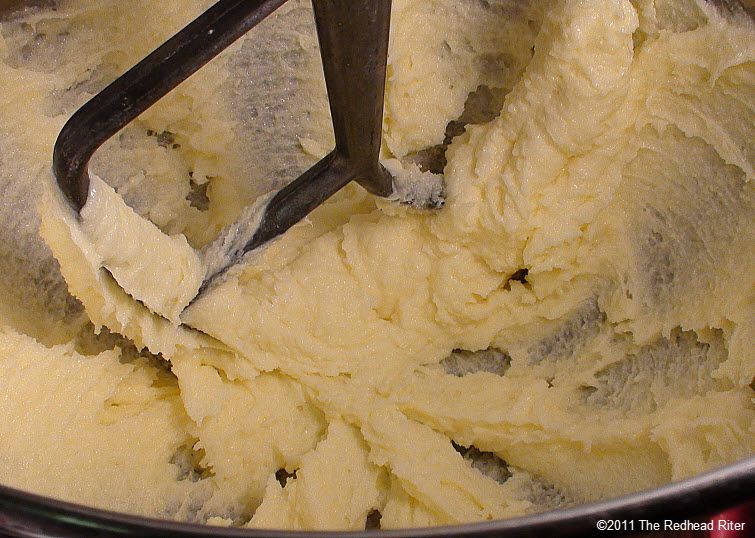
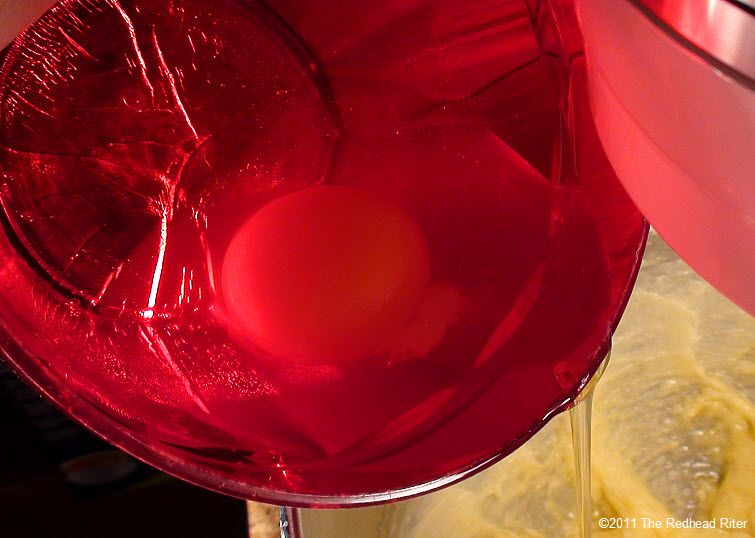
When it has lightened in color,
add the eggs one at a time.
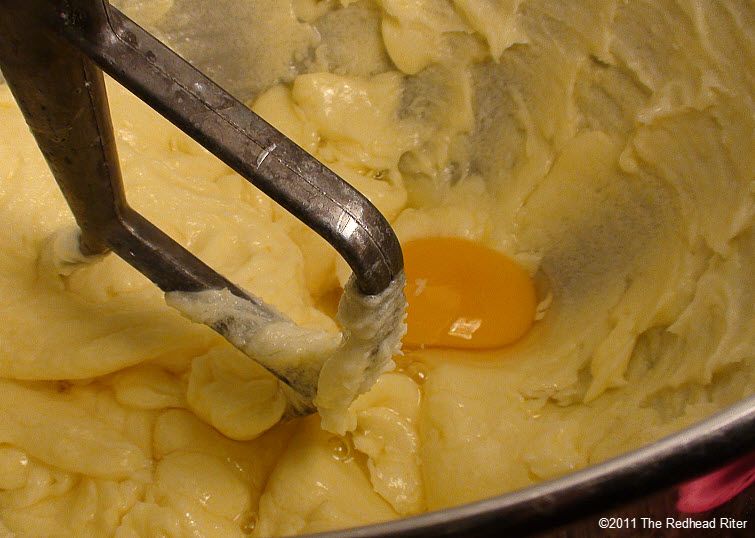
Mixing well between each addition.
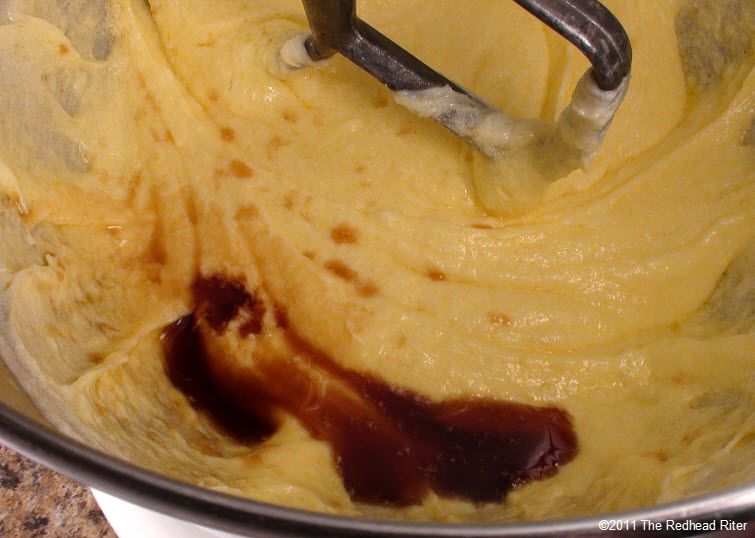
Add the vanilla to the batter and mix.
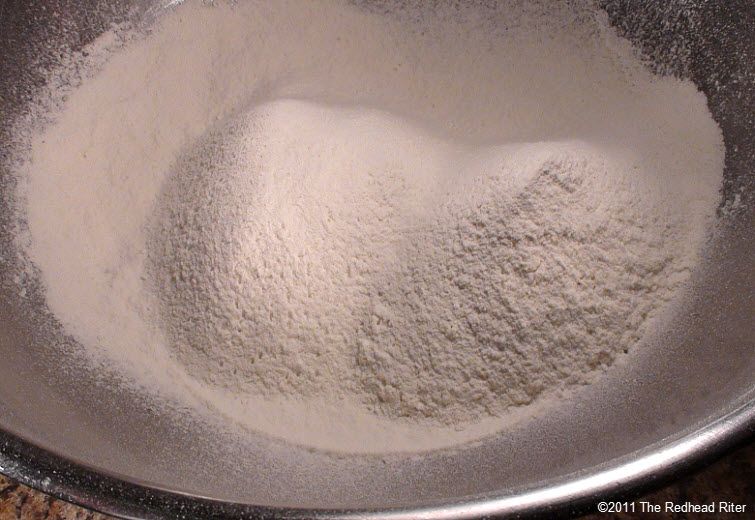
In a separate bowl, sift the flour and
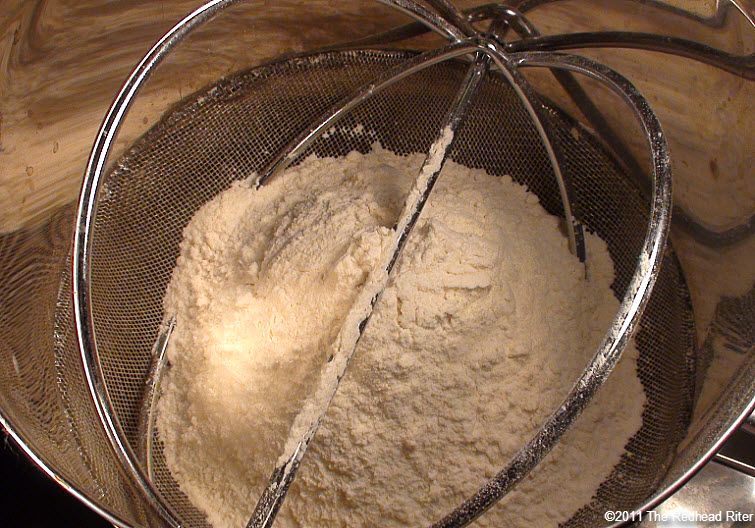
baking soda and
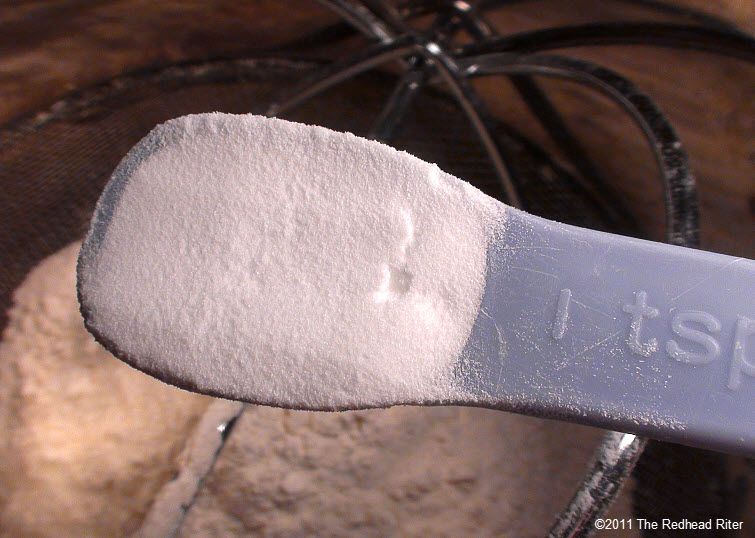
salt together.
Isn't it pretty?
I love flour.
Add the flour mixture in thirds to the wet ingredients,
mixing between each addition.
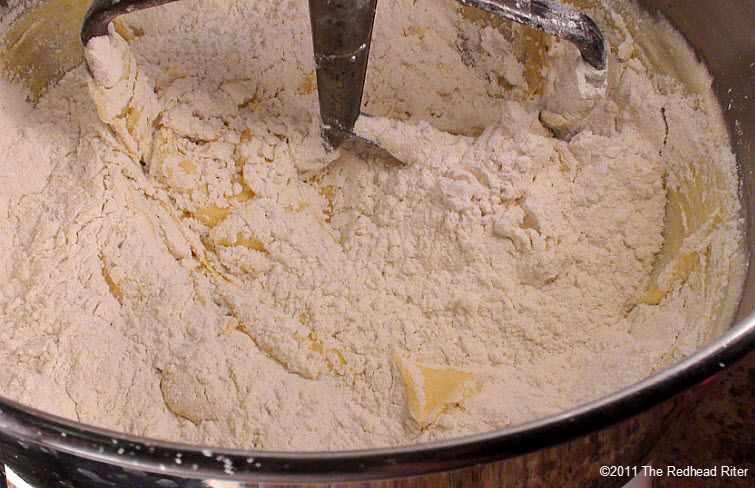
Honestly, I really want to eat the batter at this point.
I'm a die hard batter licker.
After you have smooshed the bananas
to a liquidy state...
"Smooshed" and "liquidy" are words LOL
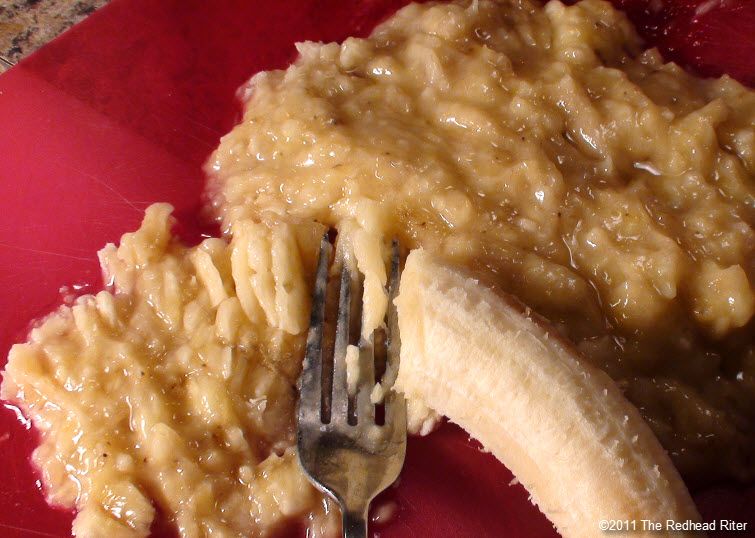
Measure out the appropriate amount of banana
and mix it into the batter.

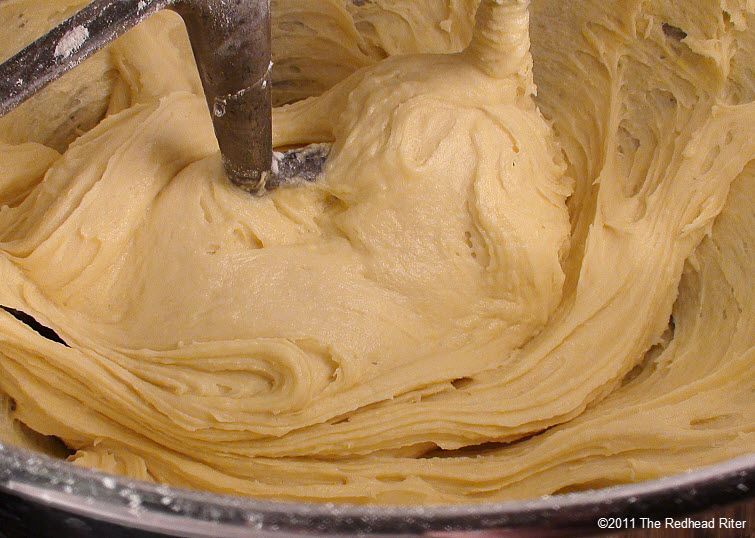
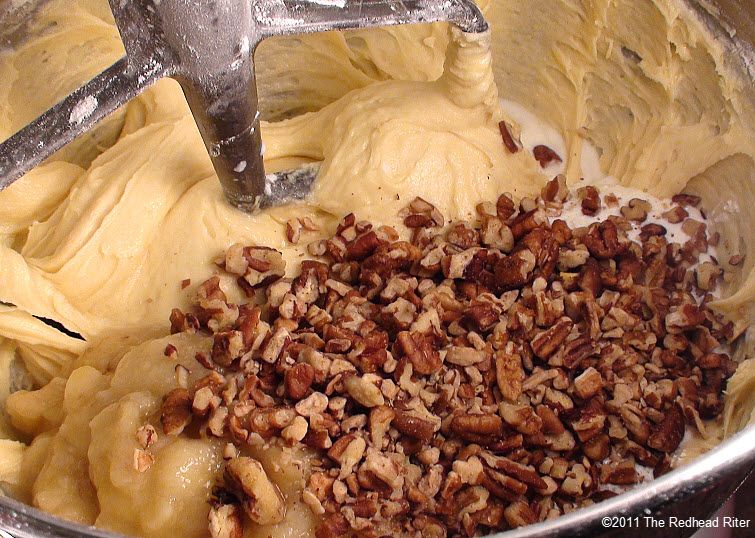
Time to add the sour cream
so that this bread will be super moist.
Don't forget to add the nuts!
I still want to lick the batter.
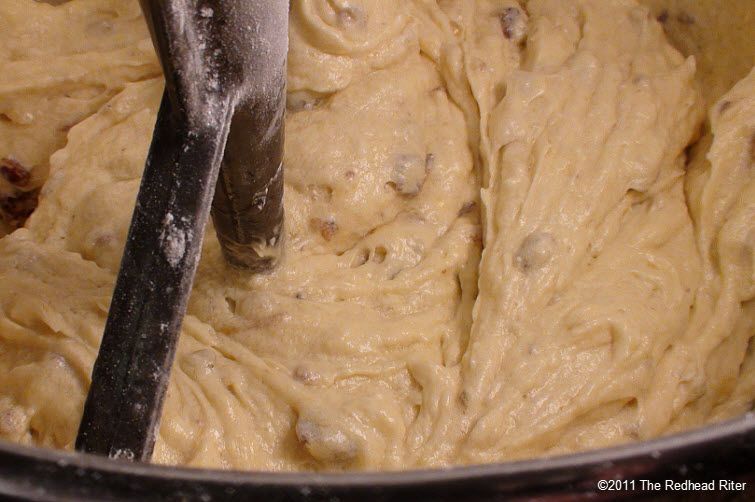
Since you have mixed all the other ingredients well,
it will only take a minute to mix in the
sour cream and nuts.
Remember that buttered pan?
Well, add a little flour and swish it all around
to completely cover the pan.
Now pour the batter in the pan.
Enjoy licking the batter while the bread bakes.
Did I say "lick the batter" again?
(smile)
When it is completely done,
it will be a nice golden brown all over.
I usually check for doneness by taking a very skinny,
sharp knife and sticking it all the way through the bread.
If it comes out clean, it is done.
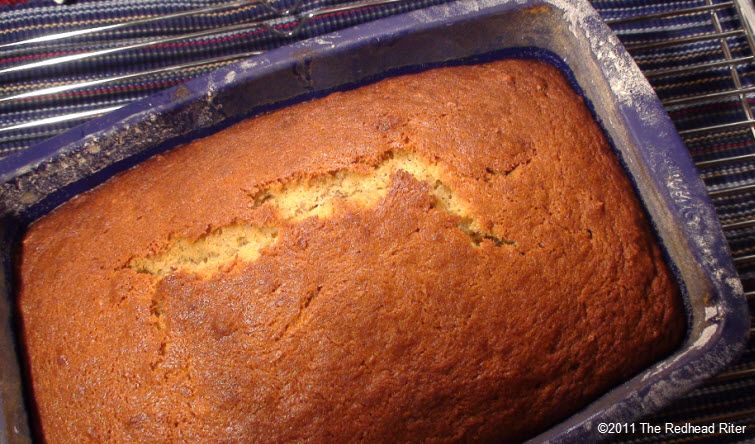
I love the split in the top.
It looks elegant and seems to say,
"Look what lies beneath the golden brown outside layer."
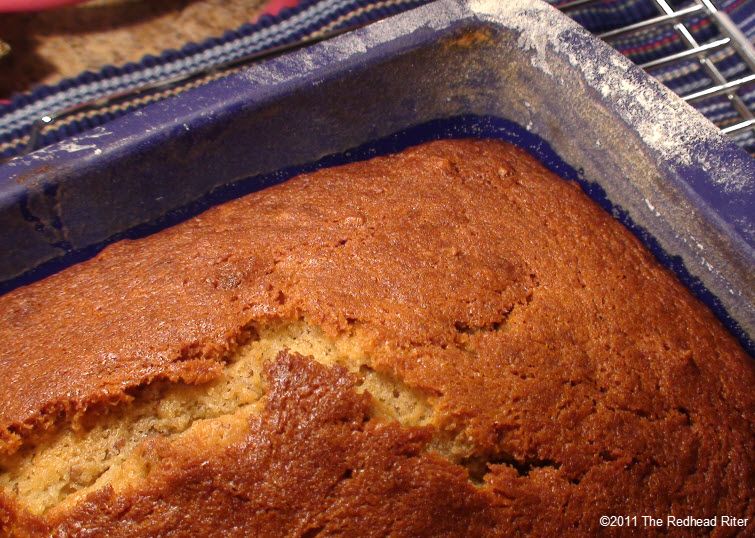
Obviously, I can't wait for it to cool.
If you have that much self-control,
more power to you.
So I carefully cut a slice,
enjoying the hot aroma of bananas
that have been baked to perfection.

So I add a little butter to the bread
and as it melts,
I take a picture for you
while trying to keep my hands steady.
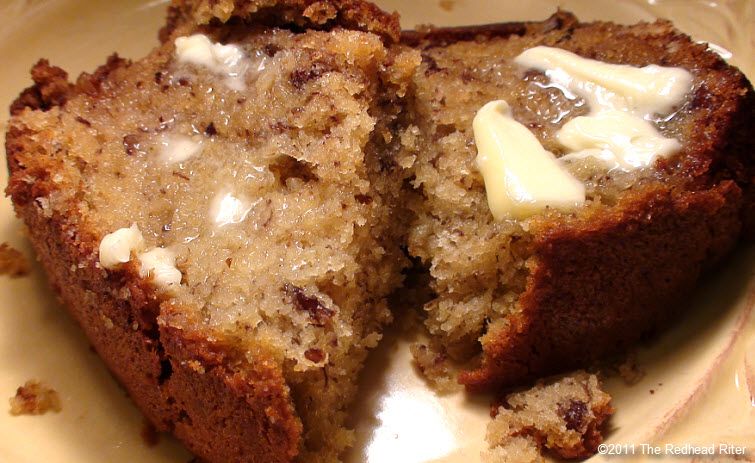
I can't wait any longer, so I take a bite.
Yes.....
Moist...soft....delectable.
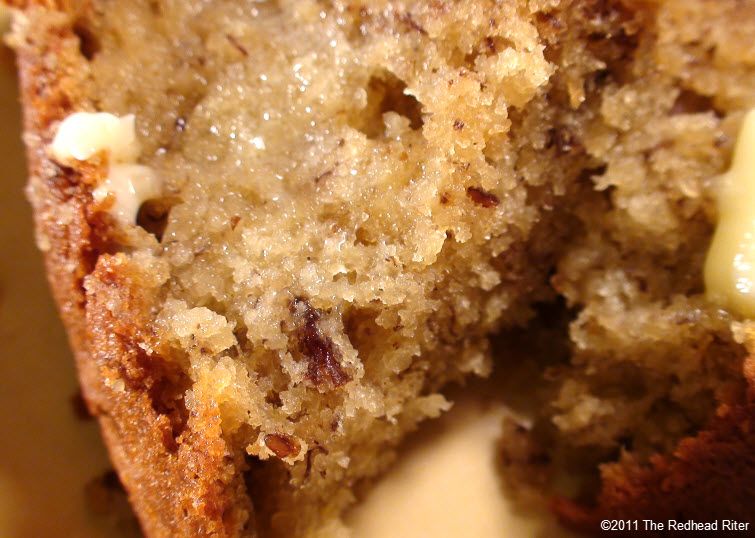
I gotta go.
There is a whole loaf of
Moist Banana Bread
that is calling my name!
Ingredients:
1/2 cup butter, softened
1 cup sugar, white
3 eggs, room temperature
1 teaspoon vanilla extract
1 2/3 cup flour, sifted
1 teaspoon baking soda
1/2 teaspoon salt
1 cup mashed bananas
1/2 cup sour cream
1/2 cup pecans, chopped
Directions:
Combine butter and sugar until creamy. Add eggs one at a time. Add vanilla and mix well.
In a separate bowl, sift together flour, soda and salt. Add dry ingredients to the wet ingredients and mix well. Add banana, sour cream and nuts. Mix until combined.
Bake in a pre-heated 350 degree Fahrenheit oven for 1 to 1 1/2 hours. Cool in the pan on a wired rack.
Yield: 1 loaf

